Tesla Frunk Won't Open? Emergency Release Guide
Some links are affiliate links. As an Amazon Associate I earn from qualifying purchases. Check vehicle compatibility before buying. How recommendations work.
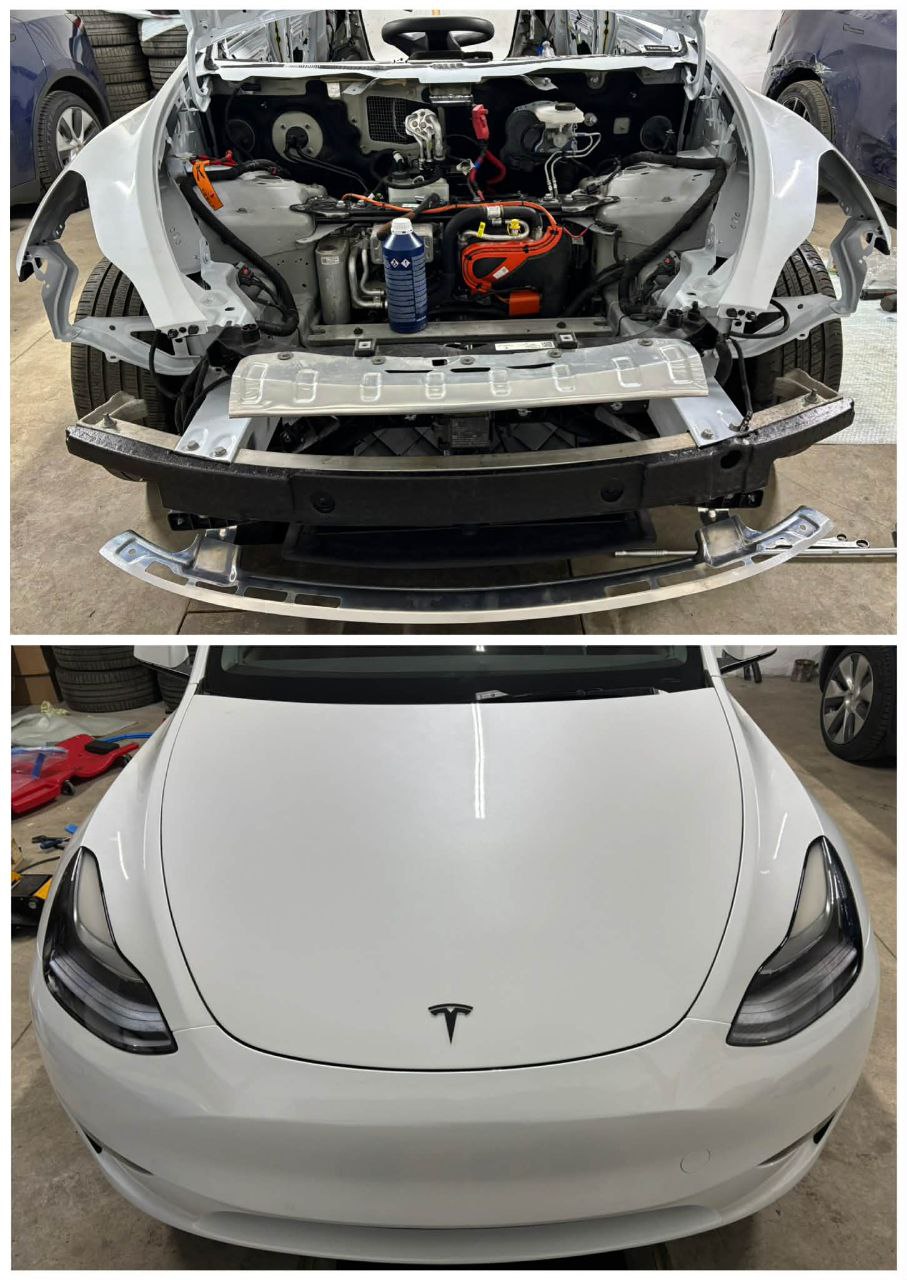
A Tesla frunk that won't open is usually caused by a 12V battery issue or a latch problem. Before panicking, there are several ways to get it open—including emergency releases that don't require any power.
Quick Fixes to Try First
Method 1: Use the Tesla App
- Open the Tesla app
- Tap Controls
- Tap Frunk (front trunk icon)
- Wait for the frunk to pop open
Method 2: Touchscreen
- Tap Controls on the touchscreen
- Tap the Frunk button
- You should hear the latch release
Method 3: Double-Tap the Frunk
On some models, you can open the frunk by:
- Standing in front of the car (phone key or key card nearby)
- Double-tapping the front edge of the frunk
- Wait for the latch to release
Emergency Release Methods
Model 3 Emergency Frunk Release
The Model 3 doesn't have a simple manual release. If the 12V battery is dead, you need to provide external power:
Step 1: Access the Power Terminals
- Remove the tow hook cover on the front bumper (small panel on the right side)
- You'll see two small wires with terminal connectors
Step 2: Provide External Power
Per Tesla's procedure:
- Connect a 12V power source (jump pack or another car's battery)
- Connect positive (+) to the positive terminal
- Connect negative (-) to the negative terminal
- The hood latches will release immediately
- Important: Do not leave power cables connected for more than 30 seconds
- This only releases the latches—it does not charge the 12V battery
Alternative: The Coat Hanger Method (requires creativity)
- Through the wheel well, you can access the frunk release cable
- This requires removing the wheel well liner partially
- Pull the release cable to open the frunk
- This is complex and not recommended unless you're experienced
Model Y Emergency Frunk Release
Similar to Model 3:
- Remove the tow hook cover on the front bumper
- Connect a 12V power source to the terminals
- Wake the car and use the app/screen to open the frunk
Model S Emergency Frunk Release
Model S has a manual release:
Method 1: Under the Nose Cone
- Locate the small panel at the bottom of the front fascia
- Remove the panel with a flat tool
- Find the manual release cable (loop or handle)
- Pull to release the frunk latch
Method 2: Jump Start Terminals
- The jump start terminals are also under the nose cone
- Connect 12V power
- Open frunk via app/screen
Model X Emergency Frunk Release
Similar to Model S:
- Access the panel at the bottom of the front fascia
- Find the manual release cable
- Pull to release
- Or use jump start terminals to power the car
Why Won't My Frunk Open?
Cause 1: Dead 12V Battery
Symptoms:
- Car won't wake up
- No response from app
- Touchscreen is black
- Door handles don't present (Model S/X)
Fix: Provide external 12V power and then replace the 12V battery
Cause 2: Frunk Latch Issue
Symptoms:
- Car is responsive, but frunk specifically won't open
- You hear clicking but nothing happens
- Works sometimes, fails sometimes
Fix:
- Try lubricating the latch mechanism
- If that doesn't work, the latch motor may need replacement
Cause 3: Alignment Issue
Symptoms:
- Frunk is hard to close
- Makes popping or scraping sounds
- Appears misaligned
Fix:
- Frunk alignment can be adjusted (loosen hood bolts, adjust, retighten)
- If damage occurred, may need body work
Cause 4: Cold Weather
Symptoms:
- Works fine in warm weather
- Fails or struggles in freezing temps
- Ice visible around seals
Fix:
- Pre-condition the car to warm it up
- Use de-icer spray on the seal edges
- Gently push down on the frunk while activating the release
Lubricating the Frunk Latch
If the frunk opens slowly or makes grinding sounds:
- Open the frunk
- Locate the latch mechanism at the front edge
- Clean any debris with a dry cloth
- Apply silicone lubricant to:
- The latch striker
- Moving parts of the latch mechanism
- The rubber seal (lightly)
- Open and close the frunk several times to distribute
Adjusting Frunk Alignment
If the frunk isn't sitting flush:
- Open the frunk fully
- Locate the hood hinge bolts (where the hood connects to the car)
- Loosen the bolts slightly (don't remove)
- Adjust the hood position
- Have someone hold it in the correct position
- Retighten the bolts
- Test closure and alignment
Note: Frunk adjustment can be tricky. If you're not confident, this is a quick job for any body shop.
When to Contact Tesla Service
- Frunk won't open after trying all methods
- Latch motor is clearly failed (no sound, no movement)
- Physical damage to the hood or latch area
- Repeated failures even with a good 12V battery
- Warranty may cover frunk latch issues
Preventing Future Issues
- Monitor 12V battery health - Replace proactively every 4-5 years
- Keep latch lubricated - Quick spray every 6 months
- Don't slam the frunk - Close gently with even pressure
- Check alignment periodically - Ensure smooth operation
Keep a small jump pack in your garage. It's invaluable for any car, but especially for a Tesla where the frunk contains your charging cables.
Related Guides
- Trunk Won't Close - Similar latch mechanisms and fixes
- Door Handle Not Working - Related electrical latch issues
- 12V Battery Replacement - Prevent future latch failures
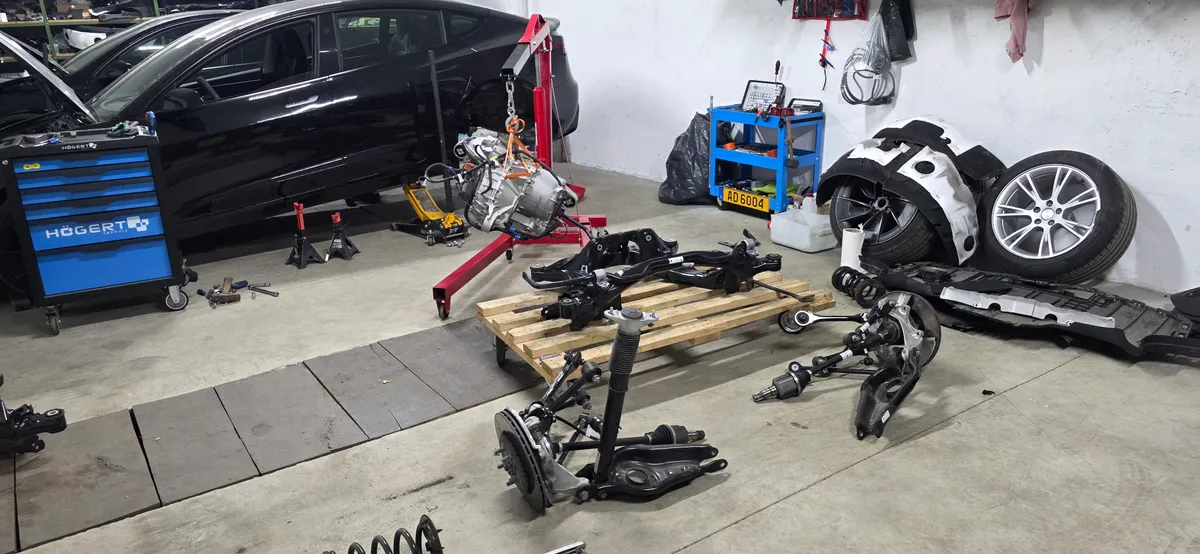
Tools and parts to check
Match the tool or part to your vehicle and the procedure before ordering. Search links show listings, not a verified fit. Check the seller's specifications, delivery region and current price.
- Jumper Cables or 12V Power Source
- Pry Tool (Plastic)
- Silicone Lubricant
- iFixit Spudger
Some links earn a commission from qualifying purchases. Storefront availability and compatibility vary.