Tesla Trunk Latch Replacement: DIY Fix Guide
A Tesla trunk that won't latch, randomly opens, or shows a "Trunk Open" warning when it's clearly closed is almost always caused by a failed micro switch inside the latch assembly. This is a common issue on Model 3 and Model Y, especially in cold or wet climates where moisture corrodes the switch contacts.
Symptoms
- "Trunk Open" warning on the touchscreen when the trunk is closed
- Trunk won't stay latched — pops open while driving
- Trunk opens by itself randomly
- Interior lights stay on (car thinks trunk is open)
- Phantom battery drain from the car never entering sleep mode (see our phantom drain guide)
- Sentry mode constantly triggers due to "trunk open" state
Quick Fixes to Try First
Clean the Latch
Before replacing anything:
- Open the trunk and locate the latch mechanism on the trunk lid
- Spray electrical contact cleaner into the latch mechanism
- Open and close the trunk several times to work it in
- Also spray the striker (the U-shaped hook on the body)
Adjust the Striker
The trunk striker may have shifted:
- Loosen the striker bolt (usually 10mm) slightly
- Adjust the striker position — typically pushing it slightly inward helps
- Retighten and test
If cleaning and adjustment don't fix it, the latch assembly needs replacement.
What You'll Need
Time Required: 30–60 minutes Skill Level: Beginner
Parts:
- Trunk latch assembly (~$40–80 from Tesla parts suppliers or aftermarket)
- The assembly includes the micro switch — you don't need to replace them separately
Cost Comparison
| Option | Parts | Labor | Total |
|---|---|---|---|
| Tesla Service Center | $80–150 | $150–250 | $230–400 |
| Independent Shop | $60–100 | $80–150 | $140–250 |
| DIY | $40–80 | Your time | $40–80 |
Your savings: $100–320
Step-by-Step Latch Replacement
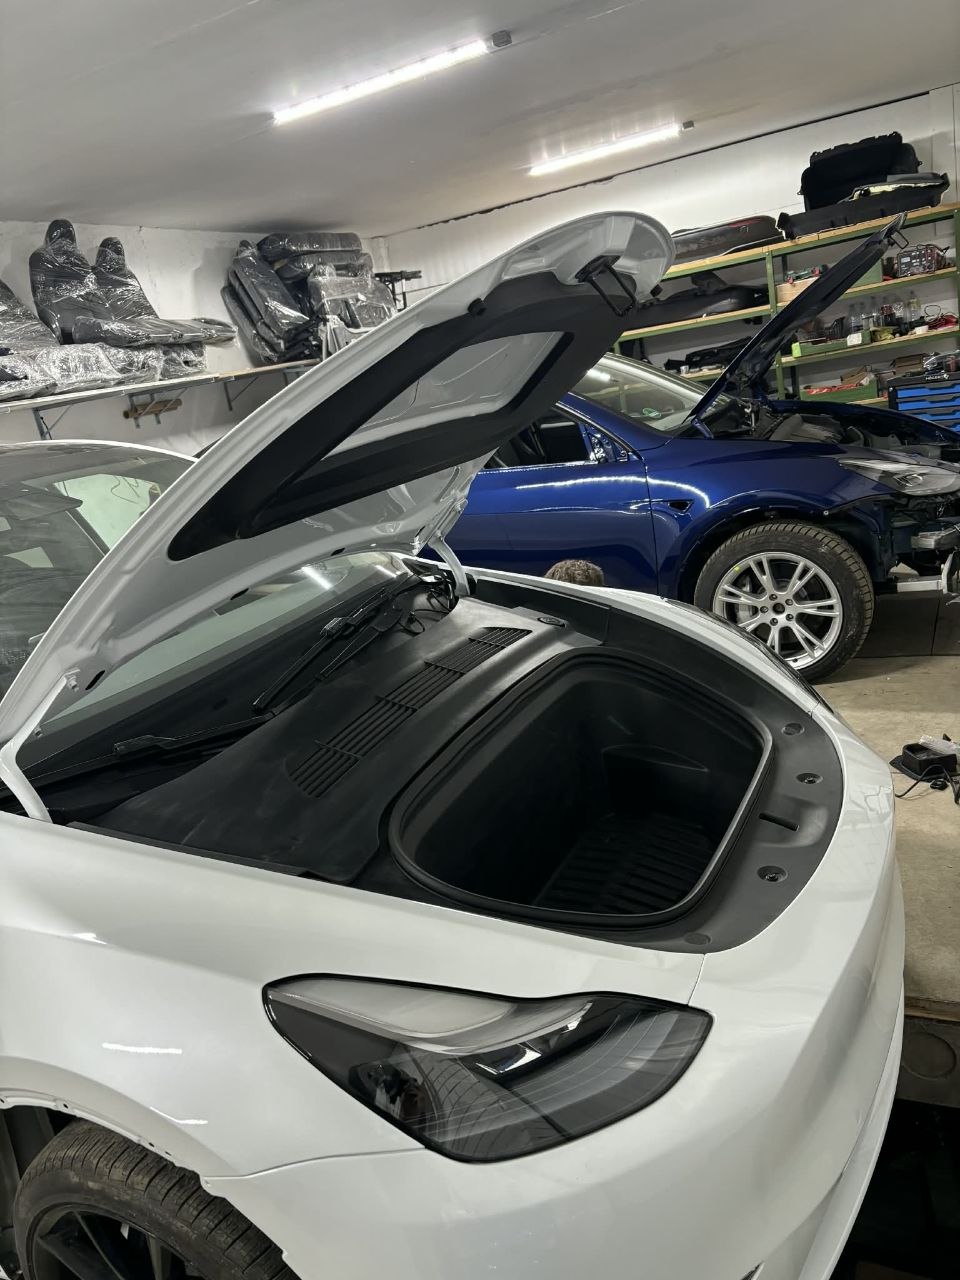
Step 1: Access the Latch
Model 3/Y:
- Open the trunk
- Remove the trunk interior trim panel — it's held by clips and possibly T30 Torx screws
- Peel back any sound deadening material to reveal the latch assembly
- The latch is mounted to the trunk lid with 2–3 bolts (10mm)
Model S:
- Open the trunk
- Remove the interior trunk trim to access the latch
- The latch is similarly bolted to the trunk lid
Step 2: Disconnect and Remove
- Disconnect the electrical connector from the latch (press the release tab)
- Mark the position of the latch with tape or a marker — this helps with alignment on reinstall
- Remove the mounting bolts (10mm)
- Remove the latch assembly
Step 3: Install the New Latch
- Position the new latch in the same location as the old one (use your marks/photos)
- Install the mounting bolts hand-tight first
- Connect the electrical connector
- Close the trunk gently to test alignment — adjust the latch position if needed
- Once aligned, torque the mounting bolts to 9 Nm (7 ft-lbs)
Step 4: Test
- Close the trunk — it should latch firmly with a solid click
- Check the touchscreen — no "Trunk Open" warning should appear
- Open and close several times to confirm consistent operation
- Test the power trunk close function (if equipped)
- Verify Sentry mode doesn't false-trigger
Step 5: Reassemble
- Reinstall the sound deadening material
- Reinstall the trunk interior trim panel
- Press all clips firmly into place
Model Y Power Liftgate Note
The Model Y's power liftgate has an additional component — the liftgate actuator — that can also cause latching issues. If the liftgate doesn't close fully (stops short and reopens), the issue may be:
- Liftgate struts — worn struts resist the close mechanism. See our trunk strut replacement guide
- Height setting — the liftgate close height may need adjustment via Controls > Vehicle > Trunk
Preventing Future Issues
- Apply silicone lubricant to the latch mechanism annually
- Keep the trunk seal clean — dirt and debris prevent full closure
- In cold climates, use silicone spray on the seal to prevent freezing
- Don't slam the trunk — let the power close function do its job
Related Guides
- Tesla Trunk Won't Close — Other trunk closing problems
- Tesla Trunk Strut Replacement — Weak struts causing latch issues
- Tesla Phantom Battery Drain Fix — Trunk latch is a common drain cause
- Tesla Door Latch Actuator Replacement — Similar latch mechanism for doors
- Tesla Frunk Won't Open — Front trunk latch issues

🛠️ Tools Needed for This Repair
These are the tools I personally use and recommend. Using quality tools makes the job easier and safer.
-
10mm Socket
-
T30 Torx Bit
-
Trim Removal Tools
-
Electrical Contact Cleaner
-
iFixit Pro Tech Toolkit View on iFixit
We earn commissions from qualifying purchases through our affiliate partners. This helps support the site at no extra cost to you.