Tesla Door Handle Not Working? DIY Fix (Save $500+)
Tesla door handles are one of the most common failure points, especially on Model S and Model X with their motorized presenting handles. Model 3 and Model Y have simpler mechanical handles but can still have issues. Here's how to diagnose and fix door handle problems yourself.
Types of Door Handle Problems
Different Tesla models have different door handle designs:
Model S & Model X: Motorized handles that present (pop out) when you approach Model 3 & Model Y: Push-button mechanical handles
Common symptoms include:
- Handle won't present when approaching (S/X)
- Handle presents but door won't open
- Handle feels loose or floppy
- Handle stuck in extended position (S/X)
- Clicking sound but no movement
- Handle works intermittently
Model S Door Handle Fix
The Model S door handle is notorious for failures. The handle contains a small motor, gear mechanism, and sensors that can all fail.
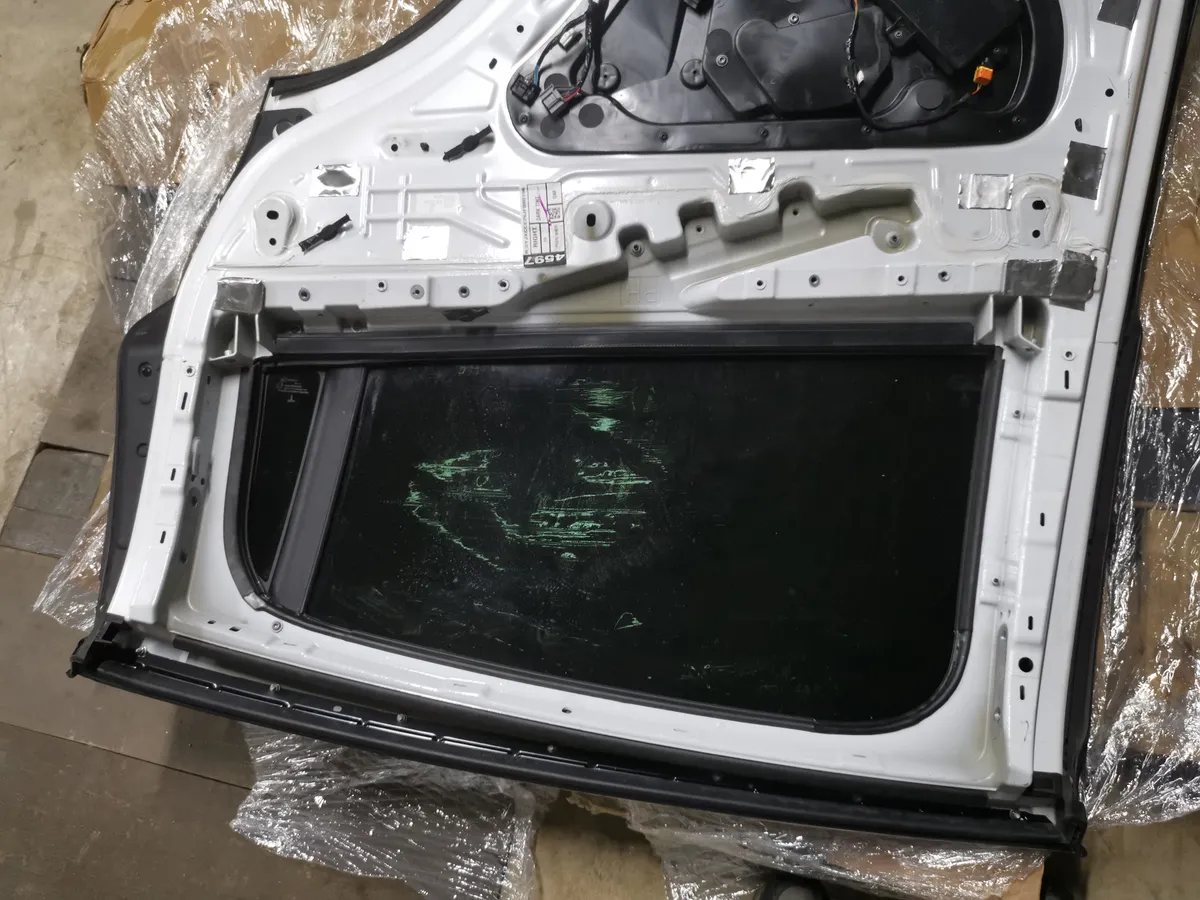 Inside a Tesla door panel — the handle mechanism, window regulator, and wiring are all accessible once the panel is removed.
Diagnosing the Problem
- No presentation at all: Usually a failed motor or gear
- Clicks but won't present: Broken gear teeth (most common)
- Presents but won't open: Microswitch failure
- Intermittent operation: Loose connection or worn parts
DIY Repair Steps
Step 1: Remove the Door Panel
- Open the door from inside using the interior release
- Remove the window switch panel using a trim tool
- Disconnect the electrical connector
- Remove the T25 Torx screws (usually 3-4)
- Carefully pry the door panel away from clips
- Disconnect any remaining connectors
Step 2: Access the Handle Mechanism
- Locate the door handle assembly inside the door
- The handle is mounted with 3 bolts accessible from inside
- Disconnect the electrical connector to the handle
- Remove the mounting bolts
- Carefully extract the handle through the door opening
Step 3: Repair or Replace
For gear failure (most common):
- Replacement gear kits are available online (~$30-50)
- Disassemble the handle unit
- Replace the broken plastic gear
- Reassemble and lubricate with silicone grease
For motor failure:
- Test motor with 12V source
- Replace motor if dead (~$40-60)
For complete handle failure:
- Aftermarket handles available (~$150-250)
- OEM replacements from Tesla (~$300-500)
Reassembly
- Insert the repaired/new handle into the door
- Secure with mounting bolts
- Reconnect electrical connector
- Test handle operation before reinstalling door panel
- Reinstall door panel in reverse order
Model 3 & Model Y Door Handle Fix
These models have simpler mechanical handles, but they can still fail.
Common Issues
- Handle won't push in: Debris or ice blocking mechanism
- Door won't open when pressed: Cable or latch issue
- Handle feels loose: Worn pivot points
- Frozen handle: Ice buildup in winter
Quick Fixes
For stuck handles:
- Apply silicone lubricant to the pivot points
- Work the handle back and forth
- Clean any debris from the handle pocket
For frozen handles:
- Never pull hard on a frozen handle
- Use a hair dryer or warm water to melt ice
- Apply silicone spray to prevent future freezing
- Pre-condition the car using the app to warm the doors
Full Handle Replacement (Model 3/Y)
If the handle mechanism is broken:
- Remove interior door panel (similar to Model S process)
- Disconnect the handle cable
- Remove the two handle mounting bolts from inside door
- Push out the old handle
- Install new handle and secure bolts
- Reconnect cable and adjust if needed
- Reinstall door panel
Model X Falcon Wing Door Handle Issues
Model X front doors use the same handles as Model S. The falcon wing rear doors have different mechanisms.
For falcon wing door issues:
- These require sensor calibration
- Often need professional diagnosis
- Check for software updates first
- Recalibrating doors via touchscreen can fix many issues
To recalibrate falcon wing doors:
- Go to Controls > Service
- Select Falcon Wing Door Calibration
- Follow on-screen instructions
- Ensure doors have clear space to operate
When to Replace vs. Repair
| Symptom | Likely Fix | Cost |
|---|---|---|
| Grinding noise | Gear replacement | $30-50 DIY |
| No movement at all | Motor replacement | $40-60 DIY |
| Intermittent | Clean connectors, lubricate | $10-20 DIY |
| Multiple issues | Full handle replacement | $150-300 DIY |
| Under warranty | Tesla service | Free |
Cost Comparison
| Option | Cost | Notes |
|---|---|---|
| Tesla Service Center | $400-800+ | Per handle, labor intensive |
| DIY Gear Kit | $30-50 | Most common fix |
| DIY Full Handle (aftermarket) | $150-250 | Complete solution |
| DIY Full Handle (OEM) | $300-500 | Tesla original part |
Preventing Door Handle Failures
- Don't force frozen handles - Use the app to pre-heat (a weak 12V battery can also cause handle failures). Start by checking your key fob battery too—a dead fob means handles won't present
- Keep handles clean - Debris causes wear
- Lubricate annually - Silicone spray on pivot points
- Park in garage - Reduces temperature extremes
- Check for recalls - Tesla has done handle recalls
Door handle repairs range from easy (lubrication) to intermediate (full replacement). If you're not comfortable removing door panels, the gear replacement kits are still worth buying to save on parts cost at a shop.
Related Guides
- Frunk Won't Open - Similar latch mechanisms and troubleshooting
- Phone Key Not Working - Alternative entry if handles fail
- 12V Battery Replacement - Power issues can cause handle failures

🛠️ Tools Needed for This Repair
These are the tools I personally use and recommend. Using quality tools makes the job easier and safer.
-
Trim Removal Tool Set
-
T25 Torx Screwdriver
-
Silicone Lubricant Spray
-
Tesla Door Handle Assembly (if needed)
-
iFixit Precision Screwdriver Set View on iFixit
-
iFixit Spudger View on iFixit
We earn commissions from qualifying purchases through our affiliate partners. This helps support the site at no extra cost to you.